Debian VirtualBox – LAMP Web Server, SSL, Alias, FTP y Virtualhost.
Debian VirtualBox – LAMP Web Server, SSL, Alias, FTP y Virtualhost.
En el siguiente vídeo, desplegamos un servidor web, con arquitectura LAMP, y configuramos la seguridad con SSL, un virtualhost para el dominio que deseamos servir con un alias y finalmente instalamos un servidor FTP asociado a un virtualhost basado en IP, siendo esta IP una dirección virtual configurada en el servidor. El sistema operativo Debian 8.4 x64 se encuentra como huésped, en una máquina virtual de Oracle VirtualBox, versión 5.0.16, siendo la misma empleada en la serie de vídeos subidos al canal.
El servidor LAMP. Despliegue del servidor:
Un servidor LAMP está formado por los componentes:
• Lenguaje servidor PHP.
• Base de datos MySQL.
• Servidor web Apache.
• Sistema operativo Linux.
Descripción del proceso:
⇒ Instalamos la base de datos MySQL.
⇒ Certificados SSL. Generar una clave privada(Private Key), pedido de certificación, certificado auto-firmado, instalación de la clave privada y del certificado auto-firmado.
⇒ Instalamos el servidor web Apache2. Editamos el virtualhost para acceso seguro y añadimos los certificados. Activamos el módulo ssl y el módulo rewrite. Modificamos las directivas necesarias.
⇒ Instalamos el lenguaje entorno servidor PHP5 y editamos su configuración.
⇒ Activamos el soporte de MySQL y SQLite de PHP5.
⇒ Instalamos APCu PHP Cache.
⇒ Instalamos phpMyAdmin.
⇒ Creamos un virtual host basado en nombre para el dominio antoniohorrillo.com.
⇒ Creamos un alias.
⇒ Creamos un servidor FTP. Configuramos el usuario del FTP. Establecemos los permisos a la carpeta. Creamos un virtualhost para el acceso FTP. Generamos el certificado y configuramos los parámetros de seguridad del servidor.
Instalamos la base de datos MySQL.
> apt-get -y install mysql-server mysql-client
En caso de que se pretenda acceder al servidor MySQL desde la red interna:
> nano /etc/mysql/my.cnf
Contenido del archivo:
# [...]
# Instead of skip-networking the default is now to listen only on
# localhost which is more compatible and is not less secure.
# bind-address            = 127.0.0.1

bind-address            = 192.168.1.240
# [...]
Certificados SSL.
> apt-get -y install openssl ca-certificates
> mkdir certs
> cd certs
Generar una clave privada(Private Key):
> openssl genrsa -out server.key 2048
> chmod 600 server.key
Pedido de certificación:
> openssl req -new -key server.key -out server.csr
Certificado auto-firmado:
> openssl x509 -req -days 365 -in server.csr -signkey server.key -out server.crt
Instalación de la clave privada y del certificado auto-firmado:
> cp server.key /etc/ssl/private/
> cp server.crt /etc/ssl/certs/
Instalamos el servidor web Apache2.
> apt-get -y install apache2 apache2-doc
Editamos el virtualhost para acceso seguro y añadimos los certificados:
> nano /etc/apache2/sites-available/default-ssl
Contenido del archivo:
#   SSL Engine Switch:
#   Enable/Disable SSL for this virtual host.
SSLEngine on

#   A self-signed (snakeoil) certificate can be created by installing
#   the ssl-cert package. See
#   /usr/share/doc/apache2.2-common/README.Debian.gz for more info.
#   If both key and certificate are stored in the same file, only the
#   SSLCertificateFile directive is needed.
SSLCertificateFile     /etc/ssl/certs/server.crt
SSLCertificateKeyFile  /etc/ssl/private/server.key
Activamos el módulo ssl:
> a2enmod ssl
> service apache2 restart
Activamos el módulo rewrite:
> a2enmod rewrite
> service apache2 restart
Editamos el virtualhost y modificamos la directiva AllowOverride:
> nano /etc/apache2/sites-available/000-default
Contenido del archivo:
AllowOverride All
> service apache2 restart
Instalamos el lenguaje entorno servidor PHP5.
> apt-get -y install php5 php-pear libapache2-mod-php5
> service apache2 restart
Activamos el soporte de MySQL y SQLite de PHP5.
> apt-get -y install php5-mysql php5-sqlite php5-gd
> service apache2 restart
Instalamos APCu PHP Cache.
> apt-get -y install php5-apcu
> service apache2 restart
Instalamos phpMyAdmin.
> apt-get -y install phpmyadmin
Editamos la configuración de PHP5.
> nano /etc/php5/apache2/php.ini
Cambiamos las siguientes opciones:
max_execution_time = 600
max_input_time = 600
upload_max_filesize = 128M
default_socket_timeout = 600
Permisos. Asignamos la carpeta /var/www/html al usuario de Apache.
> chown -R www-data:www-data /var/www/html
Comprobaciones.
> echo ‘<?php phpinfo(); ?>’ > /var/www/html/info.php
Creamos un virtualhost.
Creamos un virtual host basado en nombre para el dominio antoniohorrillo.com.
> mkdir /var/www/html/antoniohorrillo.com/html_root
> mkdir /var/log/apache2/antoniohorrillo.com
> touch /etc/apache2/sites-available/antoniohorrillo.com.conf
> nano /etc/apache2/sites-available/antoniohorrillo.com.conf
Contenido del archivo:
<VirtualHost *:443>
    DocumentRoot "/var/www/html/antoniohorrillo.com/html_root"
    ServerName www.antoniohorrillo.com
    ServerAlias antoniohorrillo.com
    <Directory "/var/www/html/antoniohorrillo.com/html_root">
               AllowOverride All
               Options Indexes FollowSymLinks MultiViews
               Order allow,deny
               Allow from All
    </Directory>
    ServerAdmin contacto@antoniohorrillo.com
    SSLEngine on
    SSLCertificateFile    /etc/ssl/certs/server.crt
    SSLCertificateKeyFile /etc/ssl/private/server.key
    LogFormat "%h %l %u %t \"%r\" \"%{User-Agent}i\"" combined
          ErrorLog "|/usr/bin/rotatelogs /var/log/apache2/antoniohorrillo.com/error.log 86400"
    LogLevel warn
          CustomLog "|/usr/bin/rotatelogs /var/log/apache2/antoniohorrillo.com/access.log 86400" combined
</VirtualHost>

<VirtualHost *:80>
    DocumentRoot "/var/www/html/antoniohorrillo.com/html_root"
    ServerName www.antoniohorrillo.com
    ServerAlias antoniohorrillo.com
    <Directory "/var/www/html/antoniohorrillo.com/html_root">
               AllowOverride All
               Options Indexes FollowSymLinks MultiViews
               Order allow,deny
               Allow from All
    </Directory>
    ServerAdmin contacto@antoniohorrillo.com
    LogFormat "%h %l %u %t \"%r\" \"%{User-Agent}i\"" combined
          ErrorLog "|/usr/bin/rotatelogs /var/log/apache2/antoniohorrillo.com/error.log 86400"
    LogLevel warn
          CustomLog "|/usr/bin/rotatelogs /var/log/apache2/antoniohorrillo.com/access.log 86400" combined
</VirtualHost>
Activamos el virtualhost y reiniciamos Apache.
> a2ensite antoniohorrillo.com.conf
> service apache2 restart
Asignamos permisos al usuario de Apache.
> chown -R www-data:www-data /var/www/html
Creamos un alias.
> touch /etc/apache2/conf-available/antoniohorrillo.com.conf
> nano /etc/apache2/conf-available/antoniohorrillo.com.conf
Contenido del archivo:
Alias /ahh /var/www/html/antoniohorrillo.com/html_root

<Directory "/var/www/html/antoniohorrillo.com/html_root">
    Options Indexes FollowSymlinks
    AllowOverride All
    Require all granted
    AddDefaultCharset off
</Directory>
Creamos un servidor FTP.
> apt-get -y install proftpd-basic
> ls -la /etc/proftpd/
> mkdir /var/ftp/antoniohorrillo.com
Configuramos el usuario del FTP.
> id ftp
> ftpasswd –passwd –name antoniohh –file /etc/proftpd/passwd –uid 115 –home /var/ftp/antoniohorrillo.com –shell /bin/false
Establecemos los permisos a la carpeta.
> chown ftp /var/ftp/antoniohorrillo.com -R
Configuramos el servidor.
> nano /etc/proftpd/proftpd.conf
Contenido del archivo:
Include /etc/proftpd/virtuals.conf
Include /etc/proftpd/tls.conf
Editamos el archivo virtuals.conf.
> nano /etc/proftpd/virtuals.conf
Contenido del archivo:
# Virtual Host proftpd antoniohorrillo.com

<VirtualHost 192.168.100.240>
  ServerAdmin contacto@antoniohorrillo.com
  ServerName “Servidor FTP antoniohorrillo.com”
  AuthUserFile /etc/proftpd/passwd
  DefaultRoot /var/ftp/antoniohorrillo.com
  RequireValidShell off
  AllowOverwrite on
</VirtualHost>
Generamos el certificado.
> proftpd-gencert
Configuramos los parámetros de seguridad del servidor.
> nano /etc/proftpd/tls.conf
Contenido del archivo:
TLSRSACertificateFile /etc/ssl/certs/proftpd.crt
TLSRSACertificateKeyFile /etc/ssl/private/proftpd.key

chmod 0600 /etc/ssl/private/proftpd.key
chmod 0644 /etc/ssl/certs/proftpd.crt
Video.
Audio Track.
Credit this piece by copying the following to your credits section:
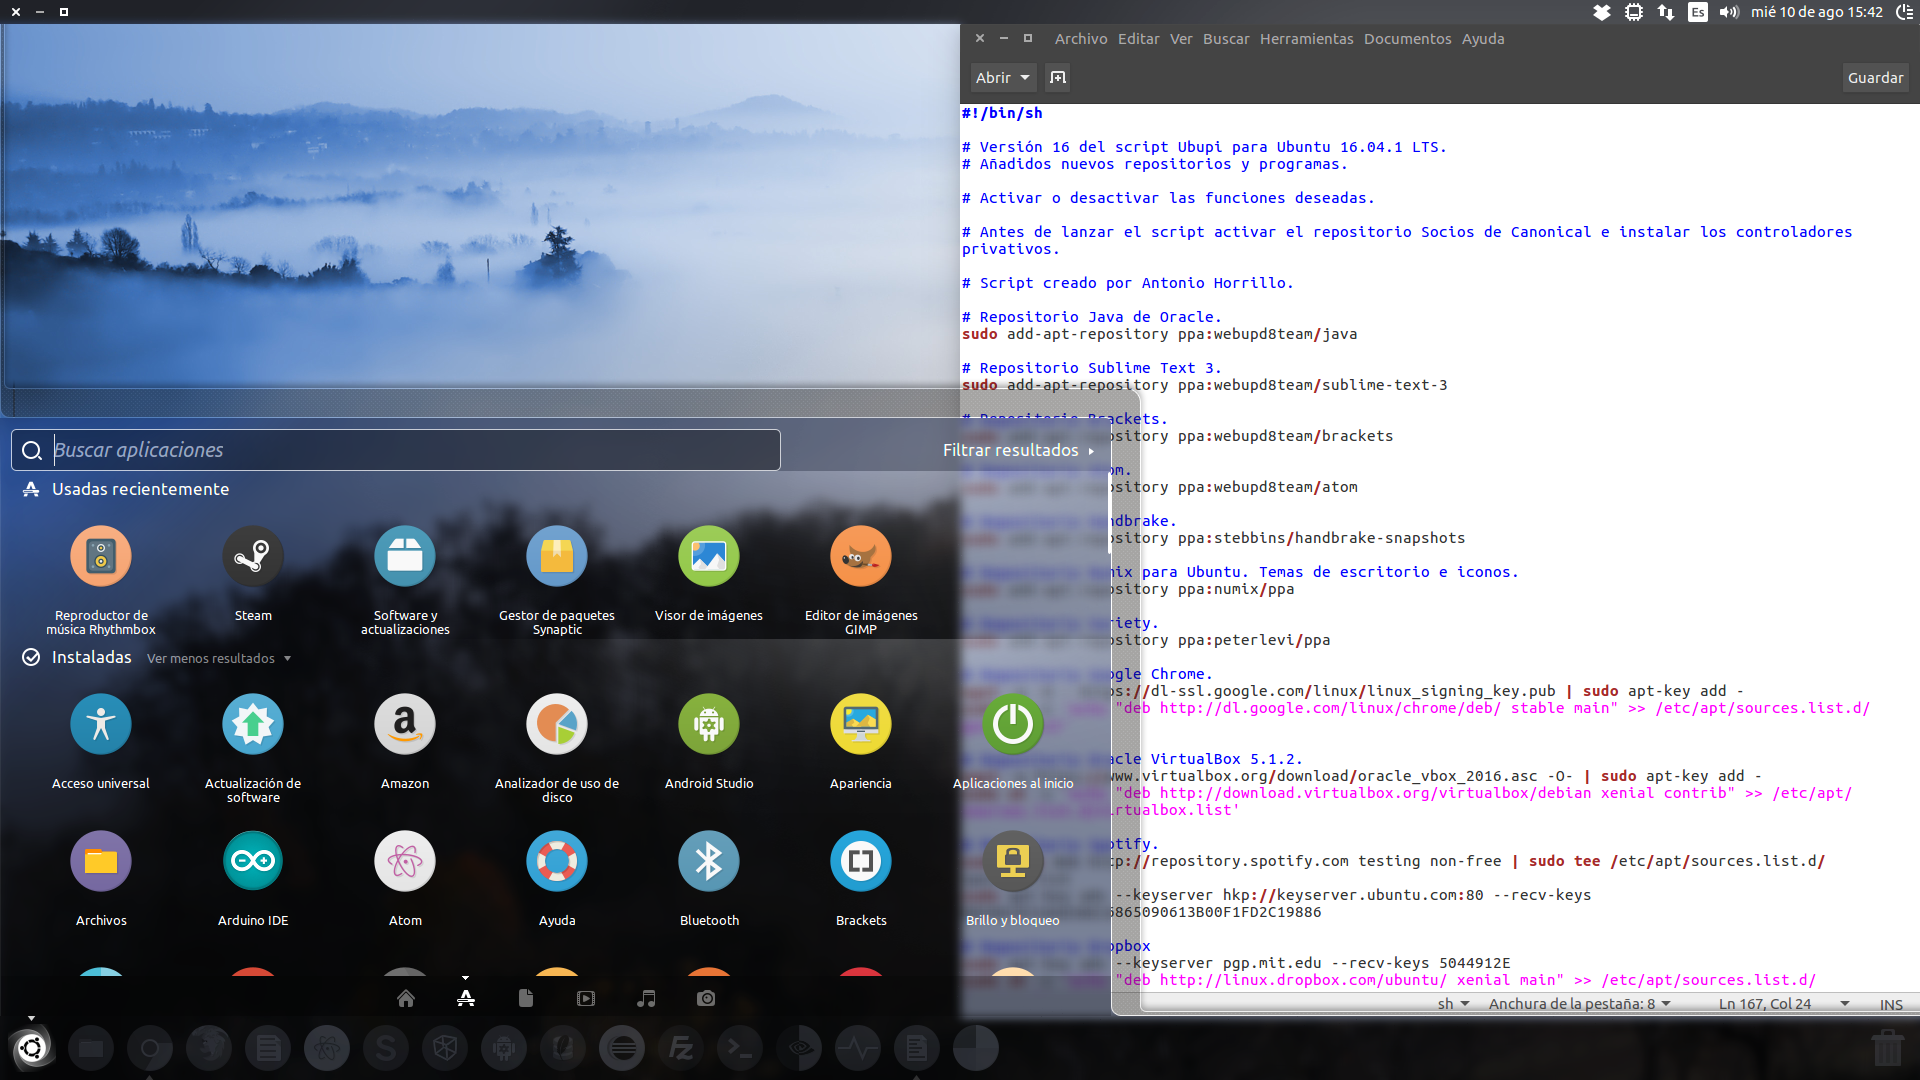
«Garden Music» Kevin MacLeod (incompetech.com)
Licensed under Creative Commons: By Attribution 3.0 License
http://creativecommons.org/licenses/by/3.0/


Pingback: Seguridad en wp-admin de wordpress con htaccess | Antonio Horrillo